Move the compressor air filter to a high, dry location so moisture and debris never get pulled into the intake.
What you need: two barbed fittings, air filter housing, mounting hardware, and 3/8" air line (included with the compressor)
Overview
Relocating your air filter is one of the most important steps when installing your HornBlasters horn kit. If you are mounting your compressor outside the vehicle, chances are it's going to get wet at some point in its lifetime. No problem, right? Only if your air filter has been relocated properly. If the air filter is mounted right onto the compressor, it can get wet and ultimately allow the compressor to breathe in moisture and debris. This can and will lead to issues with the compressor and eventually failure.
The Process
1
Identify the kit parts
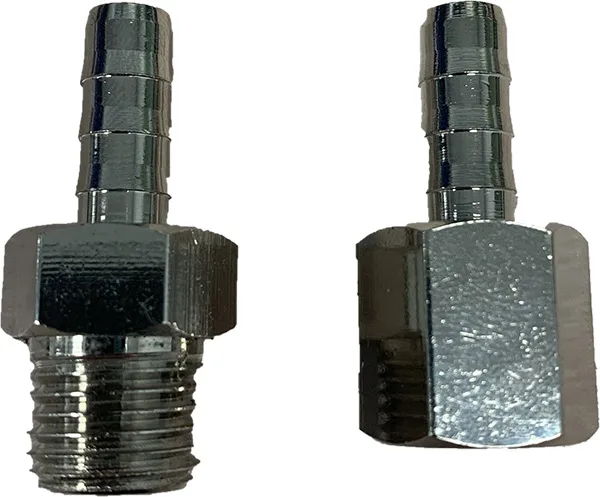
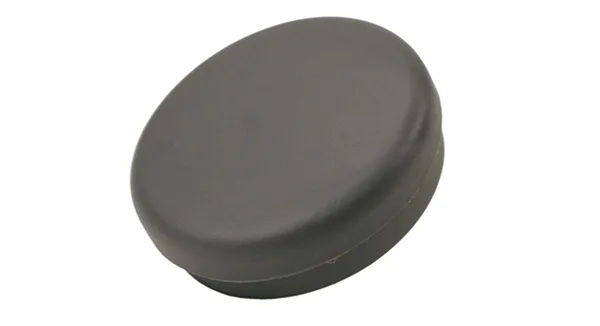
Your air compressor came with two of the barbed fittings pictured above, a set of mounting hardware, and an air filter housing (pictured below).
Barbed fittings and air filter housing included with the compressor.
2
Thread the male fitting into the compressor
Start by threading the male (threaded) fitting into the compressor. No Teflon tape is required for these fittings as they will not be holding back any pressure. If Teflon tape is used, it is possible for pieces of it to get stuck within your air compressor.
Male fitting installed on the compressor intake.
3
Install the female fitting on the filter housing
Thread the female fitting onto the male thread of the filter housing, so that you end up with the following:
Fittings installed on the compressor and filter housing.
4
Mount the filter and connect the air line
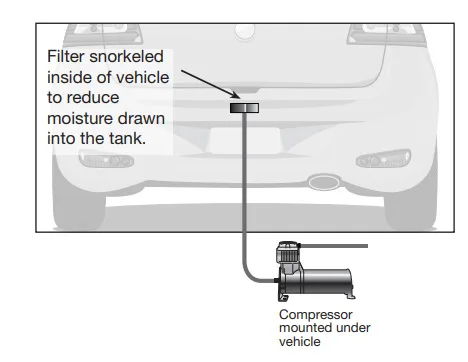
Finally, locate a good spot for your filter housing. You ideally would mount this in a high/dry location such as the cab, or any area where water will not reach the filter.
At this point, you can use the supplied roll of 3/8" air line that was taped to the compressor to connect the compressor to the filter housing, as shown below:
Your air compressor is now ready for use, even in the elements.
Filter housing connected to the compressor with 3/8" air line.
Next
Connect the Shocker XL train horns to your steering wheel without digging into the column.
 Skip to content