 Skip to content

1
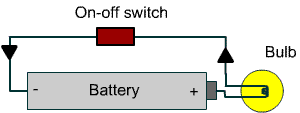
How the loop works
Power flows from the battery positive to the load (like a bulb), then back to battery negative. Flip the switch on and the loop closes; turn it off and the loop opens. The same idea applies to HornBlasters horn kits.

Help Center · Electrical
HornBlasters kits run on most modern +12V vehicles. Use this guide for grounding, circuit basics, and proper crimp connectors.
Every circuit needs a positive and a negative. Completing that loop lets power flow; breaking it turns the component off.
Power flows from the battery positive to the load (like a bulb), then back to battery negative. Flip the switch on and the loop closes; turn it off and the loop opens. The same idea applies to HornBlasters horn kits.
A ground is not just “any metal.” The battery negative is bonded to the vehicle frame, so the frame becomes the return path.
If the compressor is powered from battery positive but grounded to a truck bed with rubber mounts, the bed may not complete the loop — and the compressor will not run. Ground to the frame (or another solid battery-return point) so current can return to battery negative.
If the compressor runs when grounded at the battery but fails after mounting, the install ground is likely poor.
Set the meter to ohms. Probe battery negative with one lead and your chosen ground point with the other.
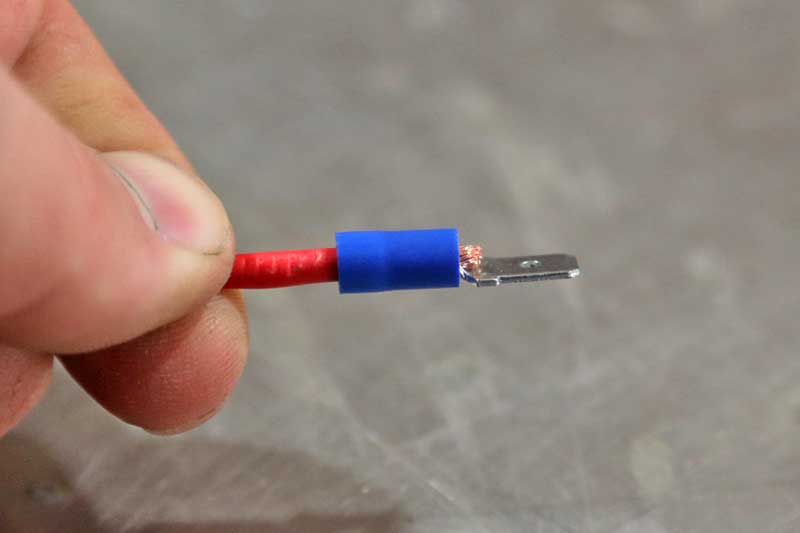
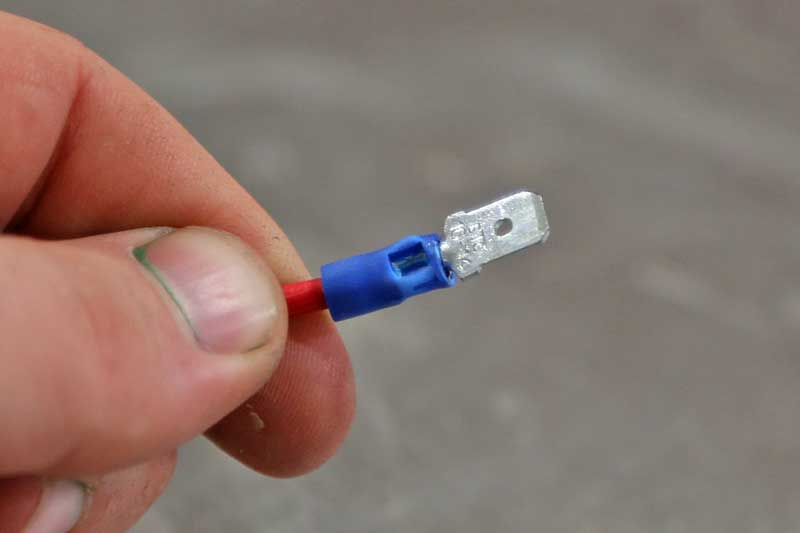
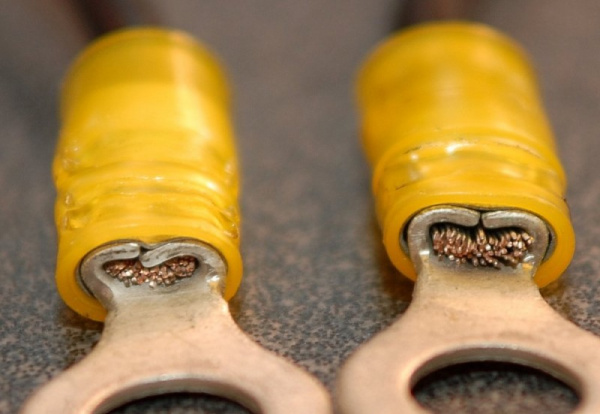
A good crimp needs the right connector size, the right crimp die, and the right technique — not pliers smashed onto a random terminal.
Strip just enough insulation so copper is fully inside the barrel without strands sticking out. Insert the wire carefully, then crimp only one side of the terminal — on barrel-style terminals, indent toward the solid side, not the split.
Crimp firmly without tearing the connector. Give the wire a light tug; if it moves, reopen the crimp and redo it.
Frequently asked questions about HornBlasters products, compressors, onboard air, train horns, and accessories.
Next article Help Center